
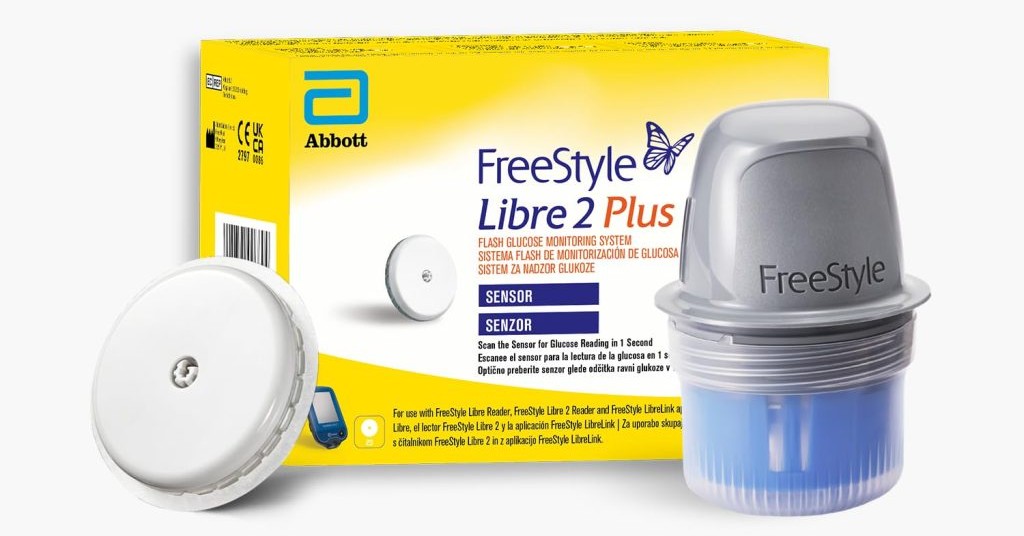
If you use a FreeStyle Libre sensor, you’ll know that where you place it can make a big difference.
Not just to the accuracy of your readings, but also to:
- comfort
- how often you accidentally knock it
- whether it stays attached for the full 14 days
- how easy it is to sleep with
Over the years, I’ve learned that there isn’t one perfect spot for everyone. What works for one person might be uncomfortable or inaccurate for someone else.
This article isn’t medical advice. It’s simply what I’ve found works best from my own experience living with Type 1 diabetes.
Why Sensor Placement Matters
When I first started using Libre sensors, I assumed placement didn’t really matter.
I quickly realised I was wrong.
The position of your sensor can affect:
- comfort during daily activities
- sleeping position (Very important)
- exercise
- sensor adhesion
- compression lows
- how often you catch it on door frames (which we’ve all done at least once).
Finding a spot that works consistently can make living with a CGM much easier.
The Back Of The Arm
This is the official placement recommended by Abbott and the location I’ve used most often.
What I like:
- easy to scan
- generally good accuracy
- comfortable during the day
- easy to cover with patches
What I don’t like:
- occasionally catching it on doorways
- sometimes lying on it during sleep
- can loosen during hot weather or heavy sweating
Overall, this is still my preferred location.
Things That Affected My Readings
I’ve noticed that several factors seem to influence how reliable my Libre readings feel:
Sleeping On The Sensor
Sometimes sleeping directly on the sensor can lead to temporary low readings that don’t match how I actually feel.
Many people refer to these as “compression lows.”
Hydration
When I’m dehydrated, readings sometimes seem less predictable.
Related reading:
Blog – 7 Small Things That Quietly Raise Blood Sugar
Exercise And Sweating
Heavy sweating can affect how well the adhesive stays attached.
This became particularly noticeable during warmer weather and exercise.
Related reading:
Blog – Best Types Of Exercise For Type 1 Diabetes
CGM Patches Changed Everything
One of the biggest improvements I made was using overpatches.
Before using them, I occasionally worried about sensors falling off early.
Since using patches, I’ve found my sensors stay attached much more reliably.
Related reading:
Blog – Best CGM Patches That Actually Stay On (Especially During Workouts & Summer)
Tips That Helped Me
Clean The Skin First
Applying a sensor to clean, dry skin helps improve adhesion.
Avoid Applying Immediately After Showering
I prefer waiting until my skin is completely dry.
Press Firmly During Application
Taking an extra few seconds here can help improve adhesion.
Be Careful Around Door Frames
This sounds obvious.
Yet somehow, I still occasionally forget.
Everyone Is Different
One thing I’ve learned with Type 1 diabetes is that there is rarely a perfect answer.
What works brilliantly for me might not work for someone else.
The best approach is usually:
- experiment safely
- track patterns
- stick with what works for you
Products That Helped Me
CGM Patches
Helpful for exercise, holidays and hot weather.
Adhesive Remover Wipes
Can make sensor changes more comfortable.
Alcohol Wipes
Useful before applying sensors.
Diabetes Supply Organiser
Helpful for keeping everything together.
Frequently Asked Questions
Where is the best place to wear a Libre sensor?
For adults, Abbott generally recommends the back of the upper arm.
Can Libre sensors be inaccurate?
Occasionally. Factors such as pressure, hydration and placement may affect readings.
Why do I get low readings while sleeping?
This may be caused by pressure on the sensor, often called a compression low.
Do CGM patches really help?
In my experience, yes. They can significantly improve how well sensors stay attached.
Final Thoughts
Finding the right Libre sensor placement took some trial and error.
For me, the back of the upper arm, combined with a good overpatch, has been the most reliable solution.
The goal isn’t finding the perfect sensor placement.
It’s finding the placement that lets you spend less time worrying about your diabetes and more time getting on with your life.
Disclaimer
This is based on my personal experience living with Type 1 diabetes. Always consult your healthcare professional before making changes to your diabetes management.
This blog contains affiliate links which means I may earn a small commission if you make a purchase at no extra cost to you.
This article is based on my personal experience living with Type 1 diabetes. Always consult your healthcare professional before making changes to your routine.